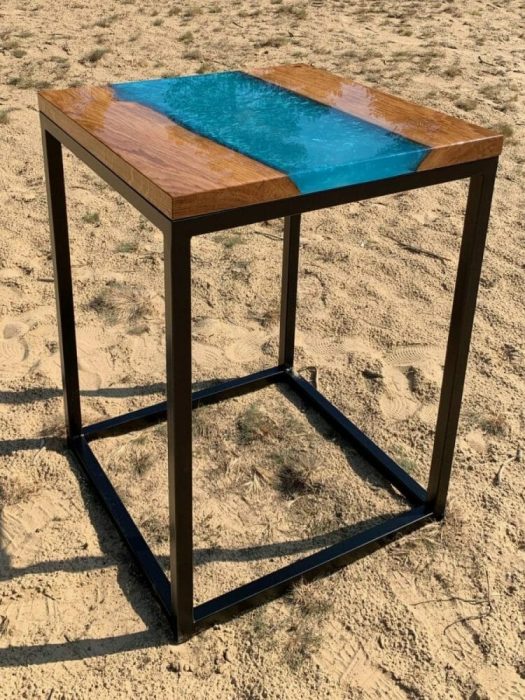
Epoxy river table, how to create them with Pourpoxy.
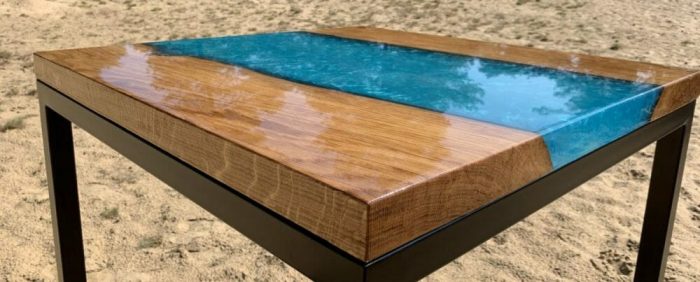
Welcome to the manual to make your own Epoxy River Table. The instruction below gives you in 8 steps the expertise to start creating your own beautiful and unique table.
This table is made with Pourpoxy deep casting Epoxy resin.
-
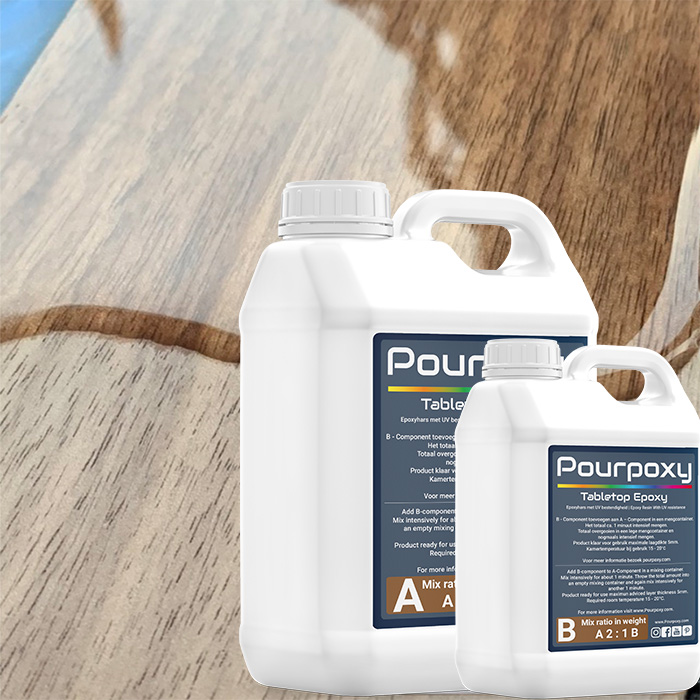 Table top epoxy casting resin PourpoxyFrom €18,95 Incl. VAT
 -
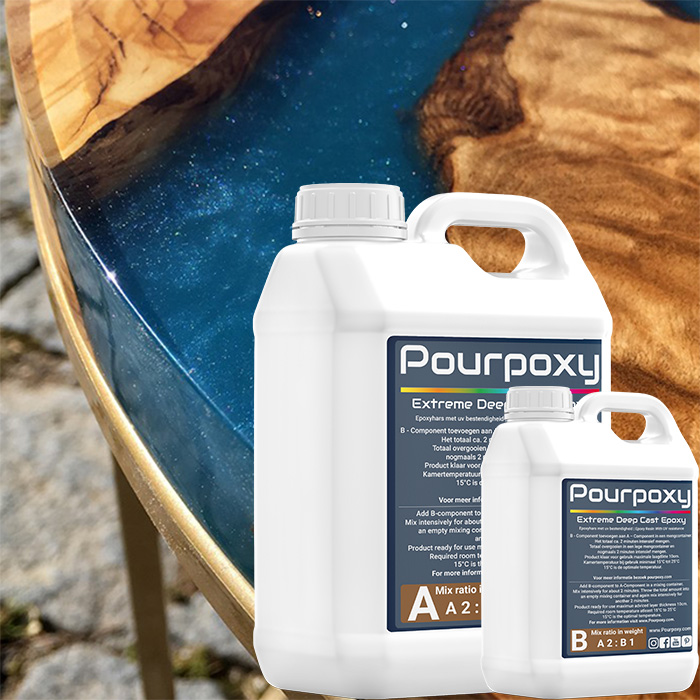 Extreme deep casting epoxy resin Pourpoxy | Thick layersFrom €34,95 Incl. VAT
Step 1: Preparation epoxy river table
It is very important that the environment in which you work is a dry, heated room with a temperature of around 20°C during the entire process. The resin must also be at room temperature so if it is delivered cold or if it has been in the garage, you should increase the temperature to a minimum of 15°C before use.
Damp or cold conditions affect the end result. Also, the room should be as dust and dirt free as possible to be sure for a great result.
Step 2: Selecting and preparing the wood
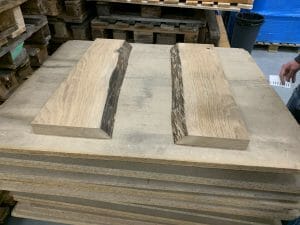
When choosing your wood, make sure that it is dry and flat. The style and type of wood is a personal choice, although interesting grains and year rings work best for this type of project.
We are going to saw the wood and prepare our piece of wood, but if you don’t have these tools, you can ask your supplier to have the wood sawed in the right sizes. You can also ask him to cut the wood in half if you are going to make a trench.
You will then have to turn your pieces of wood in half after sawing to create the trench and remove any bark from the edges. In this way, the resin can adhere to the wood and the finished table is mechanically strong.
You can inquire at a wood shop or a machinist in the neighborhood if you can use this machine here. This is often no problem at all for a small price. By doing this it saves a lot of time by not sanding the whole blade flat.
Step 2.1: Removing bark
Use a chisel to remove the bark and sand with sandpaper to remove any loose material, wipe dirt or dust from the wood and use a vacuum cleaner if necessary. This is necessary to hate the epoxy bonding to the wood. Wipe the table with white spirit and let it evaporate completely. This is necessary before the epoxy can be applied.
Step 3: Sealing the wood and filling the knots
Then the cracks, knots and crevices at both the top and bottom of the wood must be filled with resin to seal them. Use tape to seal the cracks and gaps to prevent the resin from running out. A PE tape works well for this. The epoxy can’t stick to it.
Step 3.2: Resin ratio
Pour poxy deep casting epoxy has the following mix ratio:
2 parts A : 1 Part B
Which means for every 1500 grams of mixed epoxy resin you need 1000 grams of part A and 500 grams of part B. Use this calculation to weigh you desired amount.
Step 4: Making a mould for your river table
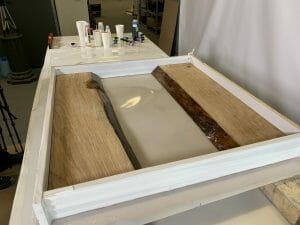
Now place your wooden planks in such a way that you can make a holder for filling the river channel this will support the resin during casting and curing (the river):
Use a flat board such as mdf or chipboard that is slightly larger than the board itself and can serve as a base plate to work on.
Then (we used a polypropylene sheet because the resin doesn’t stick to it) we make a base and side walls to make a container around the wood. Make sure that the base is about 8 cm larger than the size of the table so that (if necessary) side walls and battens can be placed in it. Use silicone glue to seal the tray waterproof.
Step 4.1: TEST your mold before casting!
Test if the mould is closed properly Do this by pouring a small amount of epoxy first. The Deep cast resin from pourpoxy is used for this process. It is water thin and can escape through the smallest holes.
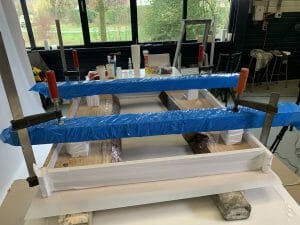
It’s a good idea to use clamps or weights to make sure the boards don’t float in the casting resin. Also to make sure that the planks stay in place and are as flat as possible when casting the epoxy river table. You may need something to place against the wood and the clamps we have covered ours with PE tape so that it would not stick to the resin.
Step 5: Pourpoxy deep casting resin, coloring and casting
Your personal preference determines whether or not you want to dye or color your resin, or whether you want to leave it transparent. Many people use our Metallic pigments or transparent pigments in their Epoxy River Tables. You can also add objects to your river if they are completely dry. We recommend using the desired pigment in a small amount of resin to see what effect you get before you try to dye the whole amount of epoxy resin for your table.
Step 5.1: Coloring your epoxy river table.
We use the Blue green metallic pigment in our resin to achieve the overwhelming effect in our table.
The resin we have used is the Pourpoxy deep casting epoxy resin that can be poured in one go to a depth of 5 cm at 20 degrees celcius room temperature. we have divided the river in two, we mix a part Pourpoxy tabletop epoxy to apply as primer. Follow the instructions to measure or weigh the resin, enough for the total project to ensure consistency. Add the color pigment to the resin, carefully add droplets/powder and mix thoroughly until desired color is achieved.
Do not mix more than 5 kg at a time and repeat if necessary. Then add the correct amount of hardener to the pre-colored resin and mix thoroughly. Then transfer to a second clean bucket and mix again (double potting) You are now ready to prepare the resin for the base/sealing layer.
Step 6: Pour the base layer
We advise to first apply a primer to seal the crack of the wood, this will help to minimize air bubbles during casting. Make sure the resin covers the entire surface from which you want the epoxy to adhere. Place the wood planks back in the correct position in your mould. Using a brush you can seal the edges and top surface with resin, including filling any knots, crevices or cracks.
Step 6.1: Clamping down the river table
Place pre-finished logs within the edges of your mold. Use logs wrapped with PE tape and clamp them in position. Allow the resin to cure completely. This means the resin will not stick anymore.
Touch the resin with your gloves on if it does not stick to the gloves it reached the right curing time. From now on you can prepare the moulding process. It is important to sand the primer layer well in order to achieve a good adhesion to the new layer. Make sure you clean up your sanding residue well again.
Step 7: Casting the epoxy river table
Once the resin is cured on the base/sealing layer you must prepare the resin for river layer:
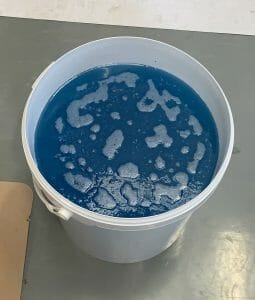
Measure out resin and add the correct amount of hardener. Mix well for 2 minutes by adding the pigments if necessary and bring the epoxy to color. After this we transfer the whole to a 2nd bucket to mix again for 2 minutes. Leave the resin to rest for 15 minutes to allow most of the air bubbles to come to the surface as shown in the picture below. You remove these air bubbles with a gas burner or heat gun before pouring.
Leave Epoxy to rest
Let Epoxy rest for 15 minutes to allow air bubbles to escape.
Pour the resin into the channel of the river Use a gas burner or heat gun to remove any bubbles. The Pourpoxy Casting resin degases itself over time, but you can speed up this process. Do this by using a heat gun or hairdryer on a medium heat. Or using our Degasser spray.
DO NOT USE TO MUCH HEAT IT WILL EXOTHERM THE EPOXY!
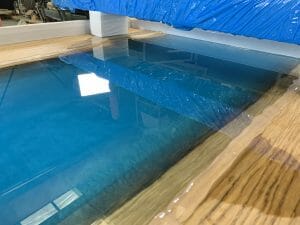
Step 8: Finishing & Sanding Epoxy River Table
To finish the table, we used a Router sled. We pulled it back and forth over the board a few times to flatten it again. This gives you a flat and even surface. (ATTENTION you have to go quietly over the epoxy to not let it break). After that you will sand the surface with a centring hand sander. Because you start with a coarse sanding pad and work up to a fine sanding paper the wood gets a nice finish.
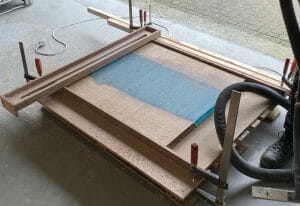
8.1 The sanding process matte finish.
For a matte finish we need the following:
Grain 80, 120, 240, 320, 600, 800 and 1200 for your centring sander. The epoxy is sanded to 1200 grain sandpaper. Make sure all scratches called “pigtails” in the epoxy are gone before you continue sanding. If this is not done properly, small scratches will be visible in the final polish and the sanding process will have to be repeated.
8.1.1 Osmo oil
When the entire table is sanded it is time to apply the desired oil to give the epoxy river table a matt finish. This should be polished with a polisher for the best result, after this step the table is re-sanded with 600 grain sandpaper. After this the table is put in the oil again. This gives the table a durable finish.`
9.2 High gloss finish epoxy river table
If you want to get a high gloss look. in this case the Pourpoxy table top epoxy resin is advised to use. This resin is used to cover an entire tabletop up to a maximum thickness of 3 mm. this gives a perfect high gloss finish with high scratch resistance.
